How We Track Down Refrigerant Leaks in Your AC
AC quit again after a recent service? Learn how we use gauges, electronic detectors, and UV dye to find refrigerant leaks and what to expect during a leak check.
When Your AC Loses Its Cool Again… What’s Really Going On?
We recently got a call from a customer — let’s call him Brian — who said, “You were just out here a week and a half ago, and now my cooling stopped working again.” That’s never what any homeowner wants to say, and it usually points us toward one big suspect: a refrigerant leak.
As we worked with Brian to find an appointment time that fit around his work schedule, he asked a great question: “Can you put that dye in there to see if I have a leak, or do we have to wait three or four weeks?” That kicked off a longer conversation about how HVAC technicians actually track down refrigerant leaks and what homeowners should expect during a leak check visit.
We want to walk you through the same explanation we gave Brian, so you know what’s happening when we show up with gauges, lights, and detectors.
Step One: Checking Pressures and History
When we arrive for a suspected leak, we rarely jump straight to dye. First, we look at the system’s “vitals.” With Brian’s system (and any other), we:
Check refrigerant pressures with our gauges and compare them to what we recorded on the last visit.
Look at the temperature split between the air going into your system and the air coming out of your vents.
Review past service notes to see when the system was last charged and how much refrigerant was added.
If we see that pressures have dropped significantly since we were last there, that’s a strong sign you’re losing refrigerant somewhere. For Brian, that was exactly why we scheduled time not just for a tune-up, but specifically for a leak check while we had the system opened up.
Opening the System and Doing a Visual Inspection
During Brian’s scheduled maintenance, we told him, “We’ll have your unit halfway open anyway, so it’s the perfect time to do a thorough leak inspection.” That’s standard practice for us. While we’re cleaning coils, changing filters, and checking electrical components, we also:
Remove access panels on the indoor evaporator coil and outdoor condensing unit.
Look for oil stains, corrosion, or dirt buildup on refrigerant lines and around coil connections.
Inspect brazed joints, service valves, and Schrader cores (the valve stems where gauges attach).
Refrigerant itself is invisible when it leaks, but it travels with a small amount of oil in the system. That oil can leave a telltale stain, which sometimes lets us spot a leak before we ever use a detector or dye.
Electronic Refrigerant Leak Detectors: The First Line of Defense
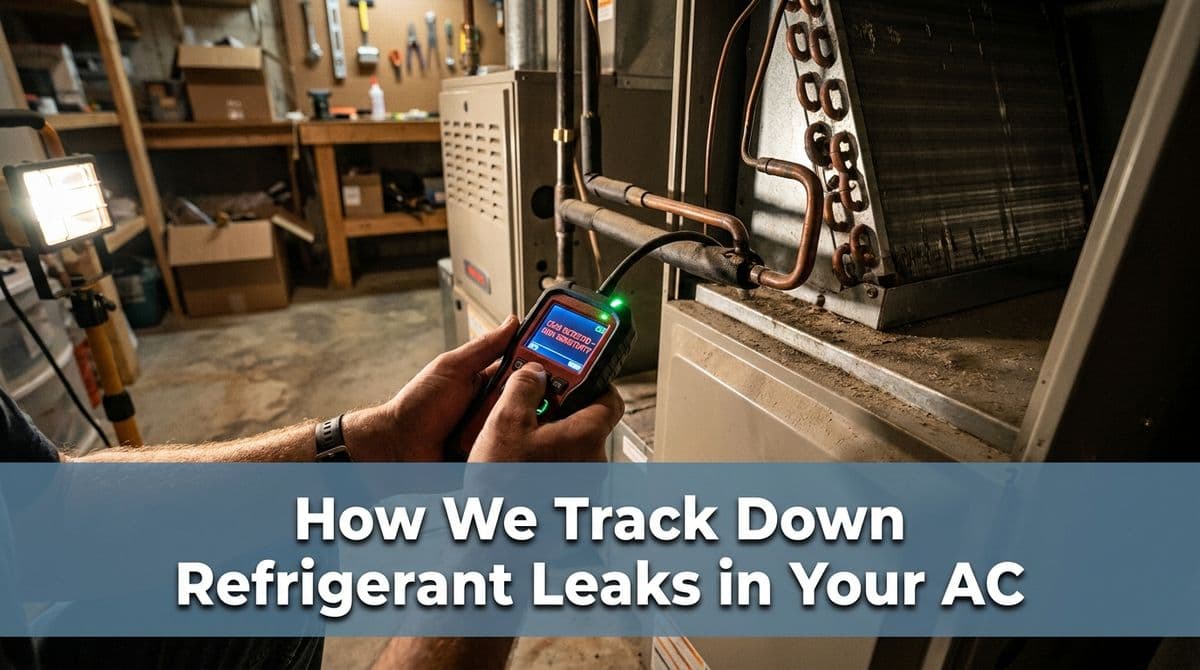
Once we’ve done a visual inspection, we bring out our electronic refrigerant leak detector. This is the “sniffer” we mentioned to Brian when we explained we’d “shine our light and refrigerant leak detectors on both sides of the coil.”
Here’s what happens during that step:
We slowly move the detector probe along refrigerant lines, coil surfaces, and all fittings.
The detector beeps or flashes more rapidly when it senses refrigerant in the air.
We pay special attention to areas that are notorious for leaks: coil ends, joints, and service valves.
For homeowners, this part of the visit looks like a lot of careful “wanding” around your equipment. It doesn’t damage anything, and it usually takes just a few extra minutes while your system is already open.
UV Dye: When We Add It and What You Should Expect
Brian specifically asked about dye: “Could you guys put that dye in there to see if I have a leak?” We told him what we tell everyone: dye is a great tool, but it’s not always the first tool we reach for.
Here’s how UV dye works and what to expect if we use it:
We inject a small amount of UV-reactive dye into the refrigerant circuit.
The dye circulates with the refrigerant and oil while the system runs.
Wherever refrigerant escapes, a little dye and oil escape too.
On a follow-up visit, we use a UV light to scan coils, lines, and fittings. The leak area glows, making it much easier to pinpoint.
Depending on the size and location of the leak, it can take some run time for enough dye to show up. That’s why, in some cases, we might recommend a follow-up visit a week or two later if the leak is very small or in a hard-to-see spot. With Brian, we explained that our first visit would focus on pressures, inspection, and electronic detection, and then we’d decide whether dye was necessary.
What Your Leak Check Visit Typically Includes
When we schedule a dedicated leak check, we usually build it into a full maintenance visit, just like we did for Brian. Here’s what you can expect from us during that appointment:
System performance check (pressures, temperatures, airflow)
Thorough cleaning of indoor and outdoor coils as needed
Filter replacement if you’re due for a new one
Visual inspection of refrigerant lines and components
Electronic leak detection around coils, connections, and valves
Discussion of findings and whether dye or further testing is needed
Our goal is simple: find the leak, explain your options clearly, and help you decide whether it makes more sense to repair a component, replace a coil, or (in some cases) start planning for a new system.
When a Leak Is Found: Repair, Replace, or Monitor?
Once we pinpoint the leak location, we’ll walk you through next steps in plain language, just like we did with Brian. Depending on what we find, we might recommend:
Repairing a fitting or valve if the leak is at a connection we can re-braze or replace.
Replacing a coil or line set if the metal itself is damaged or corroded.
Monitoring a very small leak with periodic checks if repair isn’t practical and the leak is minor.
We’ll also talk about the age and condition of your system. On an older unit that’s already using a phased-out refrigerant, a major leak can be a sign that your money is better spent on replacement rather than repeated repairs and refills.
Have Questions About Leak Checks? We’re Happy to Explain
We understand that having your AC go down again after a recent visit is frustrating. That’s why we try to schedule leak checks at times that work around your job and family schedule.
If you’re worried about a possible refrigerant leak, or you’re curious whether dye, electronic detectors, or other methods are right for your situation, just ask when you schedule. We’ll walk you through exactly what we plan to do during your visit so there are no surprises just a clear path to getting your home comfortable again.
Coastal Breeze Heating & Air Conditioning · Serving Carlsbad, Oceanside, Encinitas, Vista, San Marcos, Del Mar & North County San Diego
Call or text: (760) 470-3029
Email: coastalbreezeSD@gmail.com
Web: coastalbreezesd.com
Hours: Mon–Fri 7am–8pm · Sat–Sun 9am–5pm
CA Lic. #1077978
Old-school craftsmanship meets coastal comfort. Local expertise. Honest work. Comfort that lasts. That's the Coastal Breeze Way.